The Ultimate Guide to Subfloor Moisture Inspection: Tools, Standards, and Best Practices
Hidden Moisture Under your Home can Cause Damp Problems.
You do not always see moisture under your home. But that does not mean it is not there. If your house smells musty, feels damp, or keeps having the same mould problem, there is often something deeper going on. And in many homes, that deeper problem starts in the subfloor.
In Sydney, this is more common than many people think. Between damp ground, poor drainage, trapped air, and hidden leaks, moisture can build up under a house for a long time without being noticed. These are often warning signs that the moisture problem has not been found yet.
In this guide, you will learn what subfloor moisture inspection really means, what causes subfloor moisture, what tools are used, what good inspection practice looks like, and what it actually takes to fix the problem properly.

The Real Reason Subfloor Moisture Becomes a Bigger Problem
The Damp Smell Is NOT the Main Problem
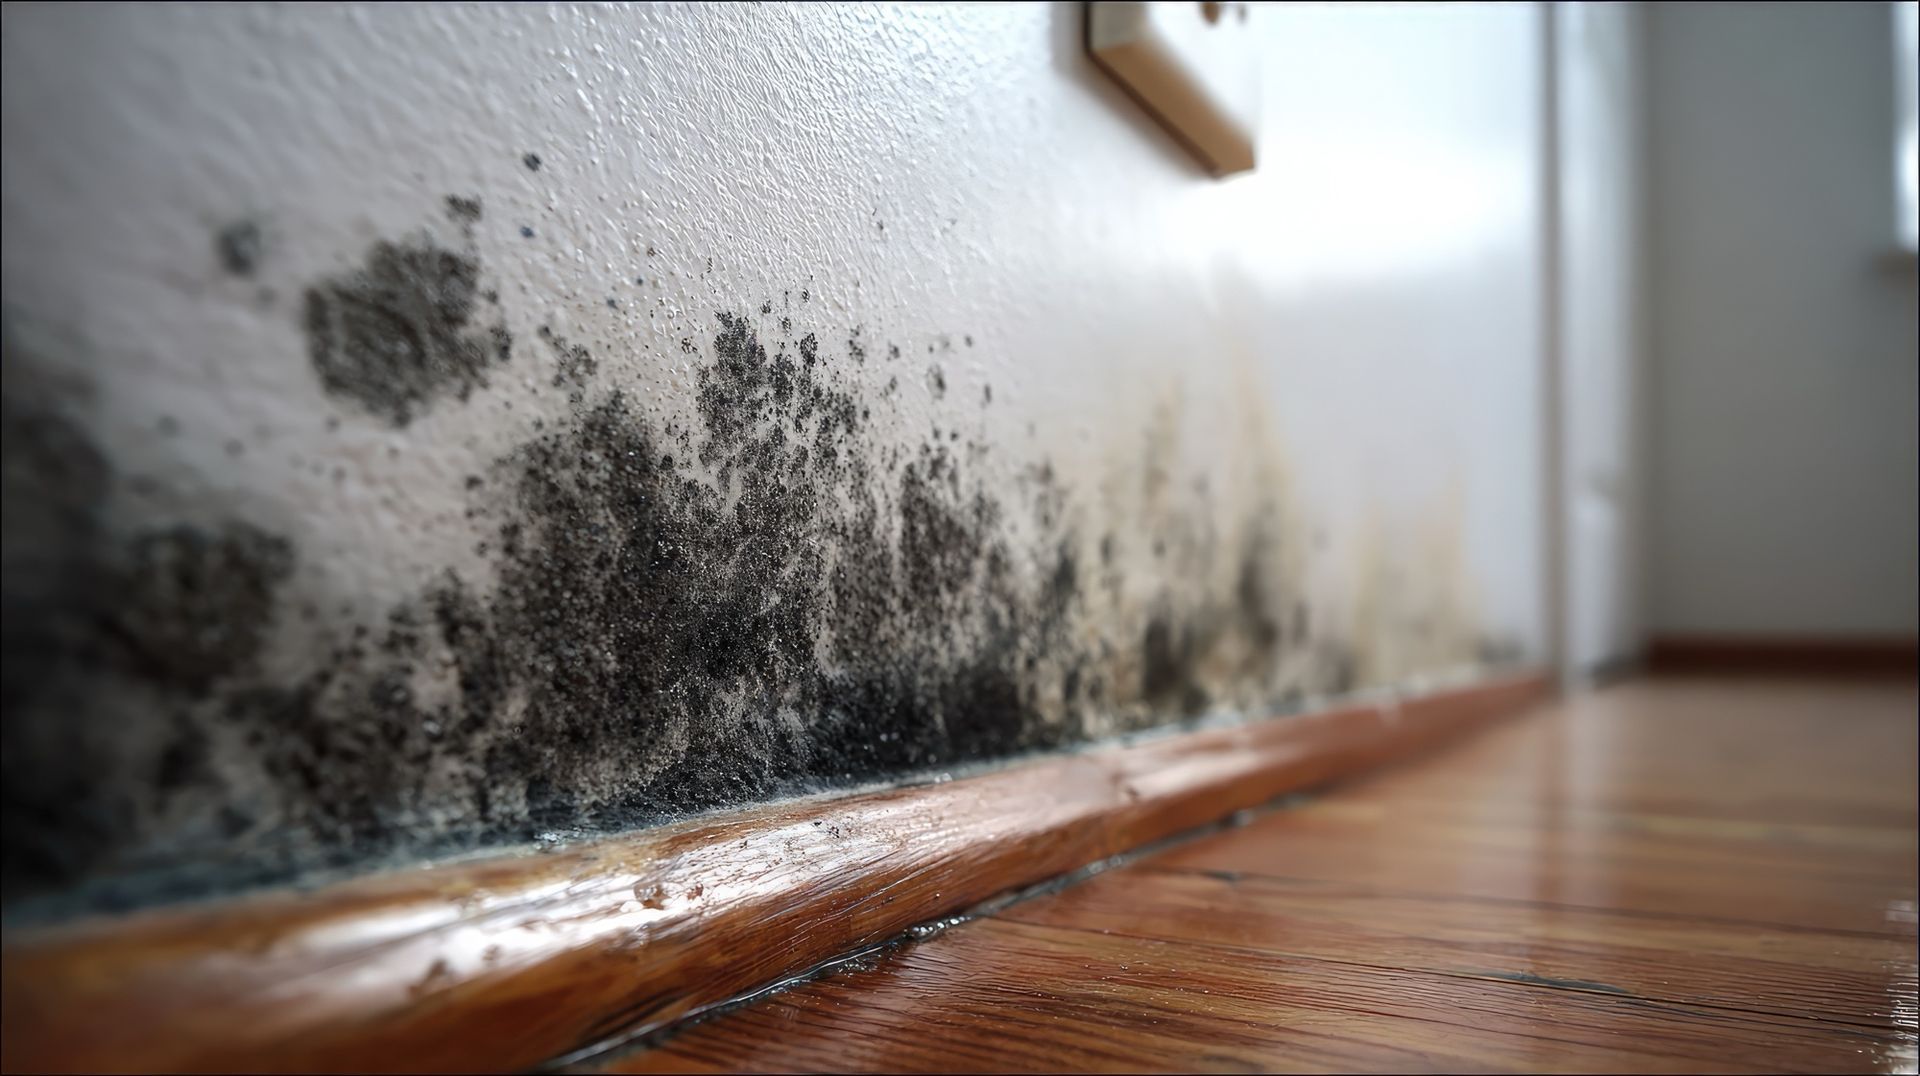
Most people notice the signs first. They notice the smell and the mould also they notice the room feels damp. So they treat those signs as the problem. But those signs are usually only the result of something deeper. The real issue is often the moisture building up under the house. That moisture sits there quietly. Over time, it affects the air, the materials, and the living spaces above it.
That is why the same issues can keep coming back.
Hidden Moisture Is the Real Cause
Moisture under a house can build up from several sources. Wet soil, poor drainage, trapped humidity, lack of airflow, and small leaks can all add to the problem. Once that moisture stays in the subfloor, it creates the kind of environment where stale air, mould, and timber trouble can start. To solve the issue properly, the focus has to shift. Instead of only looking at what is happening inside the room. That is where a Subfloor Moisture Inspection becomes so important.
Why Most Moisture Problems Don’t Get Solved Properly
Surface Fixes Only Deal With What You Can See
A lot of homeowners try to fix what is easy to notice. They clean the wall, wipe away the mould, and spray the area. That may help for a short time. But those steps do not tell you why the house feels damp in the first place. They do not tell you if the subfloor is wet. They do not tell you if the ground is holding moisture or if the air under the home is trapped.
The Main Issue Often Goes Unchecked
This is one of the biggest reasons the issue keeps going. The subfloor often gets ignored.
If no one checks the ground, the airflow, the drainage, the timber, and the moisture conditions under the home, the homeowner is left guessing. And when people guess, they often fix the wrong thing first. That is why proper inspection comes before proper repair.

Where Subfloor Moisture Actually Comes From
Ground Moisture Under the House
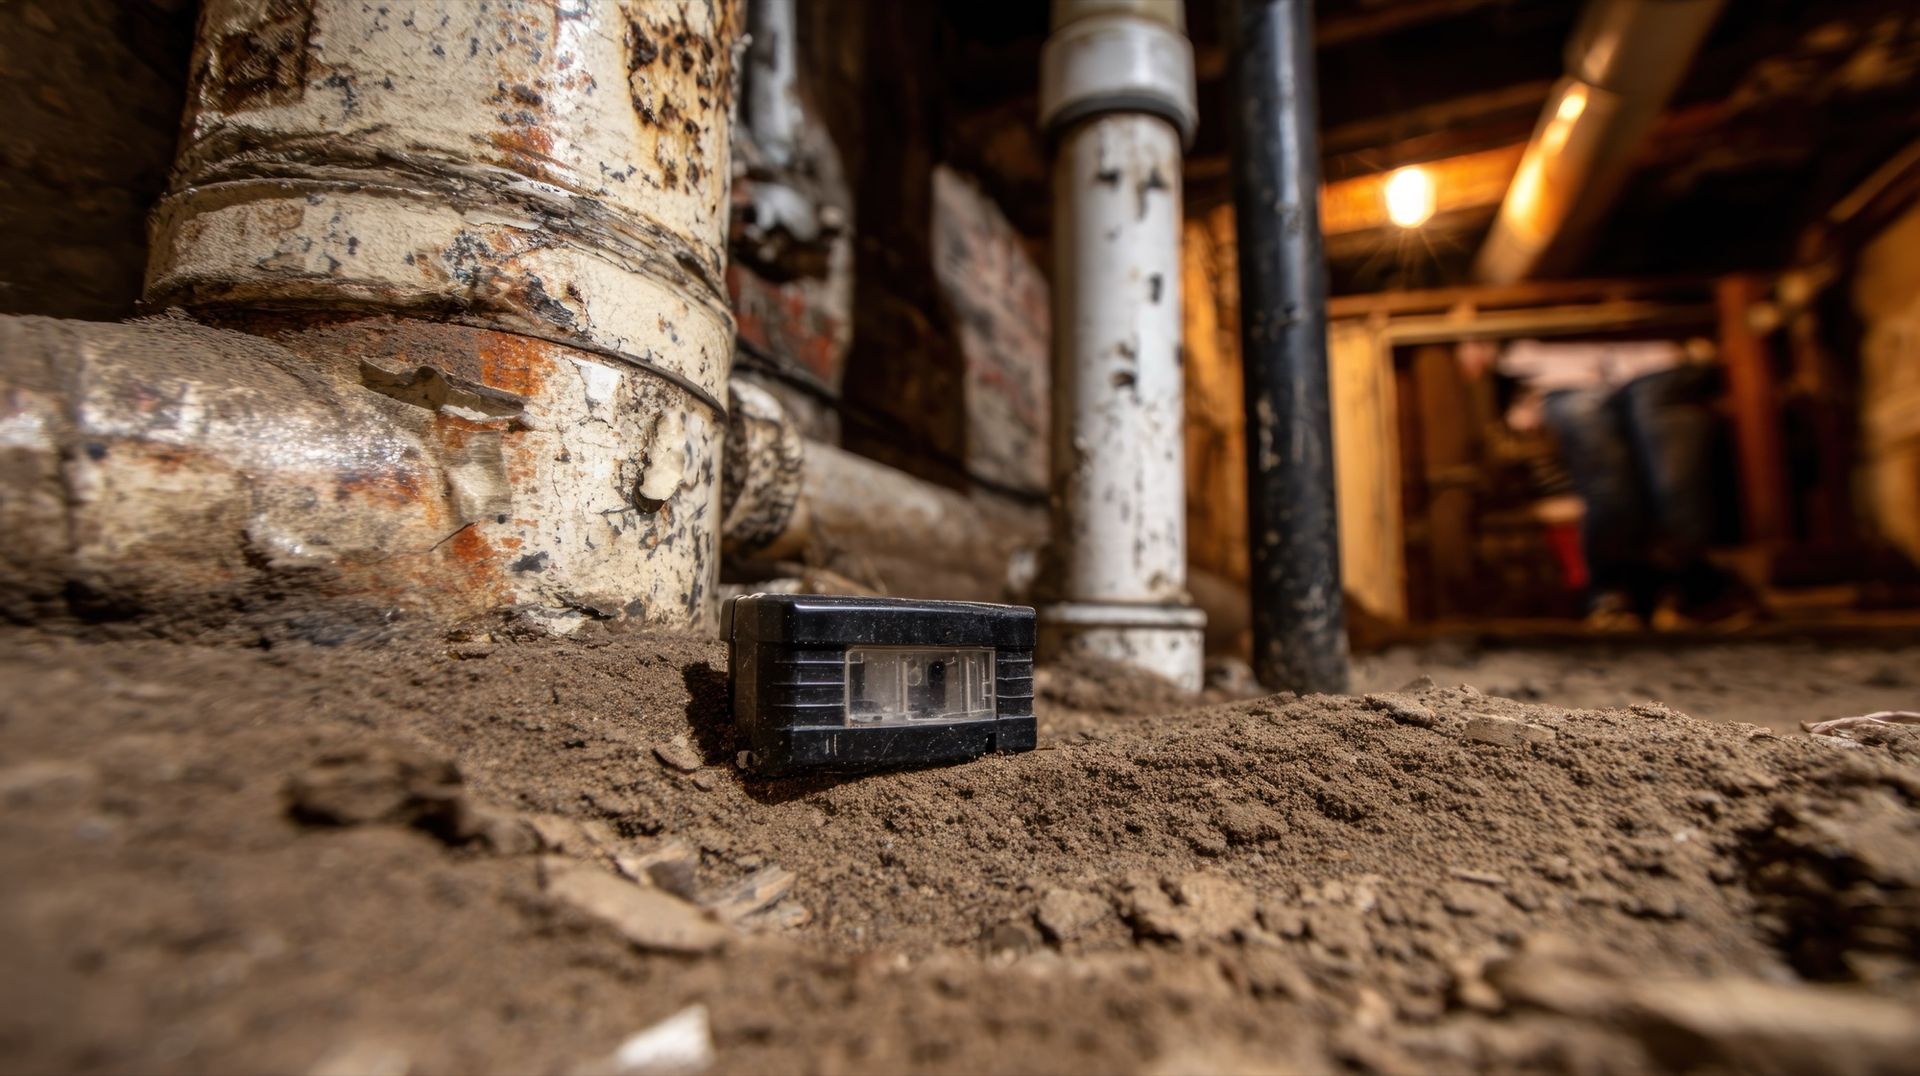
One of the most common causes is moisture in the soil below the home. When that ground stays wet, the dampness can sit in the subfloor for a long time. This is even more likely when the space gets little sun and very little air movement.
Poor Drainage Around the Home
Drainage is another big cause. If rainwater is not moving away from the house properly, it can collect near the foundations or under the home. That keeps the ground damp and makes the subfloor much slower to dry.
Bad Ventilation and Trapped Air
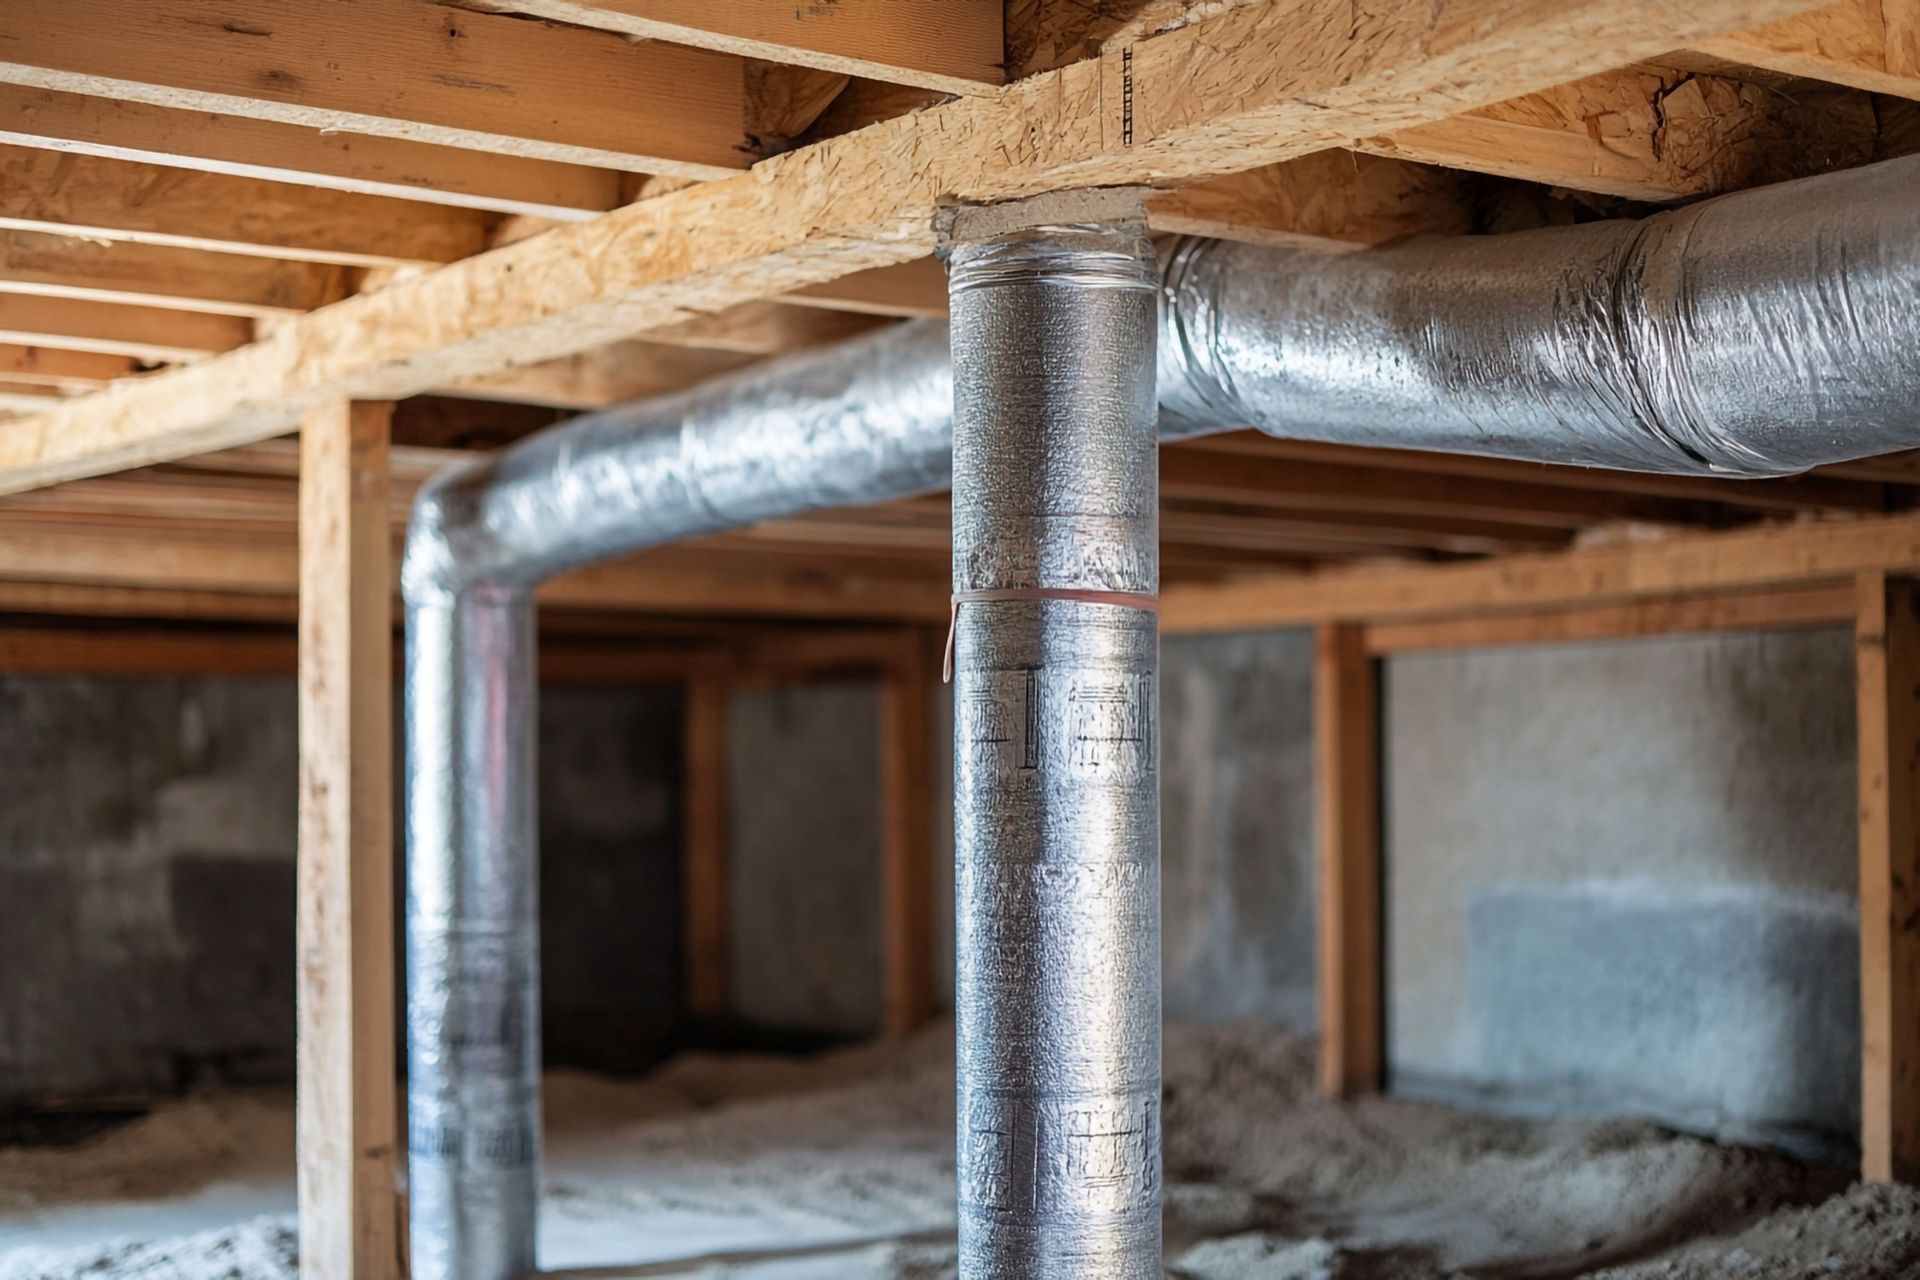
This is one of the most important parts of the problem. Even when the moisture source seems small, trapped air can make it much worse. If damp air cannot escape, the whole area stays wet for longer. That is why some homes later need a Subfloor Ventilation System. When airflow is poor, the subfloor cannot dry the way it should.
What a Proper Subfloor Moisture Inspection Actually Includes
At Rapid Vent Systems, a proper subfloor moisture inspection goes beyond a quick look under the house. It checks the full subfloor environment, including the ground, airflow, drainage, timber, and signs of dampness across the area.
It should also look for warning signs like:
- wet soil
- damp timber
- musty odours
- poor airflow
- mould-like growth
- water staining
- blocked access areas
A good inspection should answer simple but important questions.
Where is the moisture?
How bad is it?
What may be causing it?
What needs to happen next?
The Tools Used in a Moisture Inspection
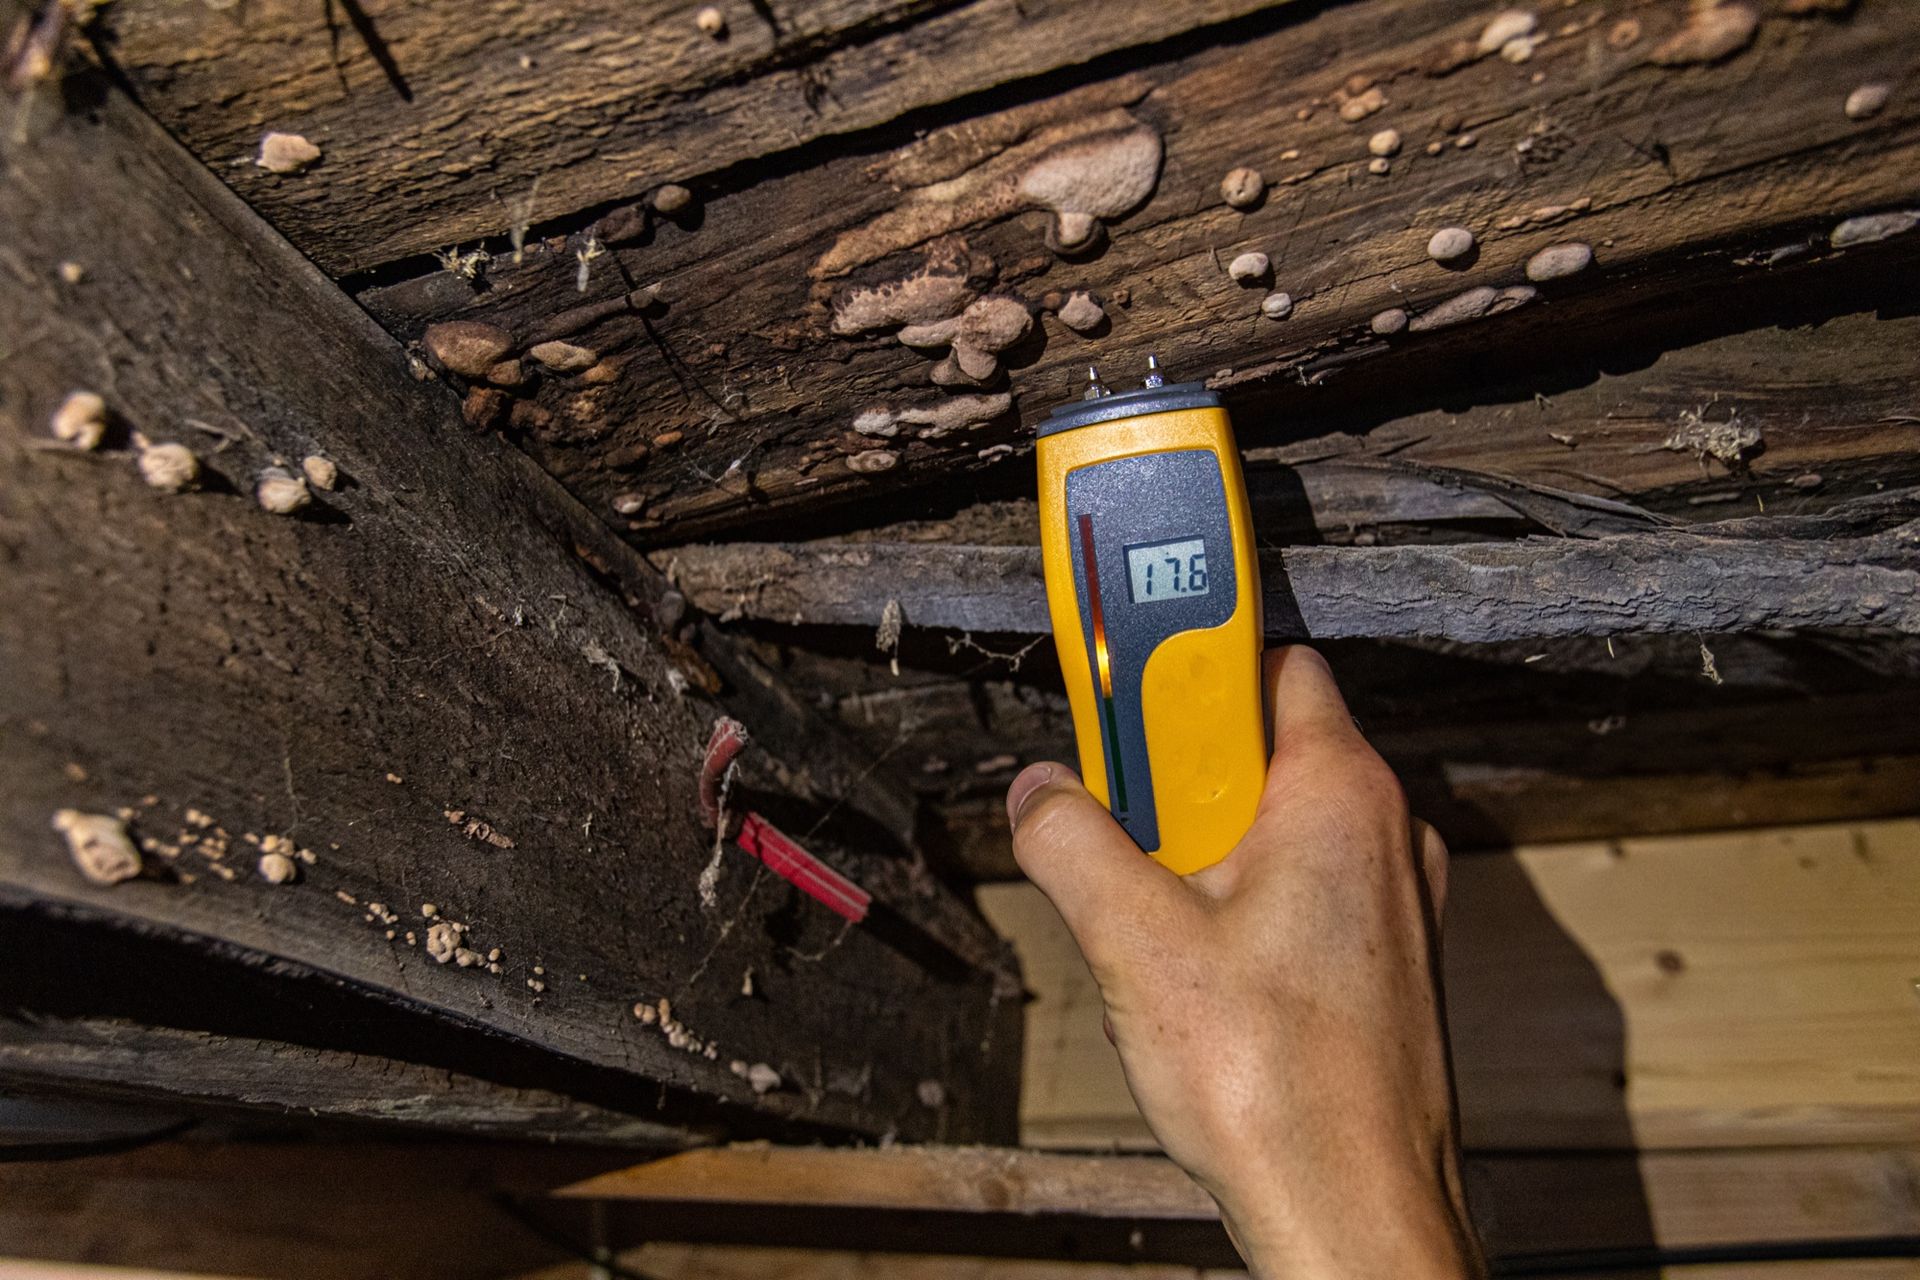
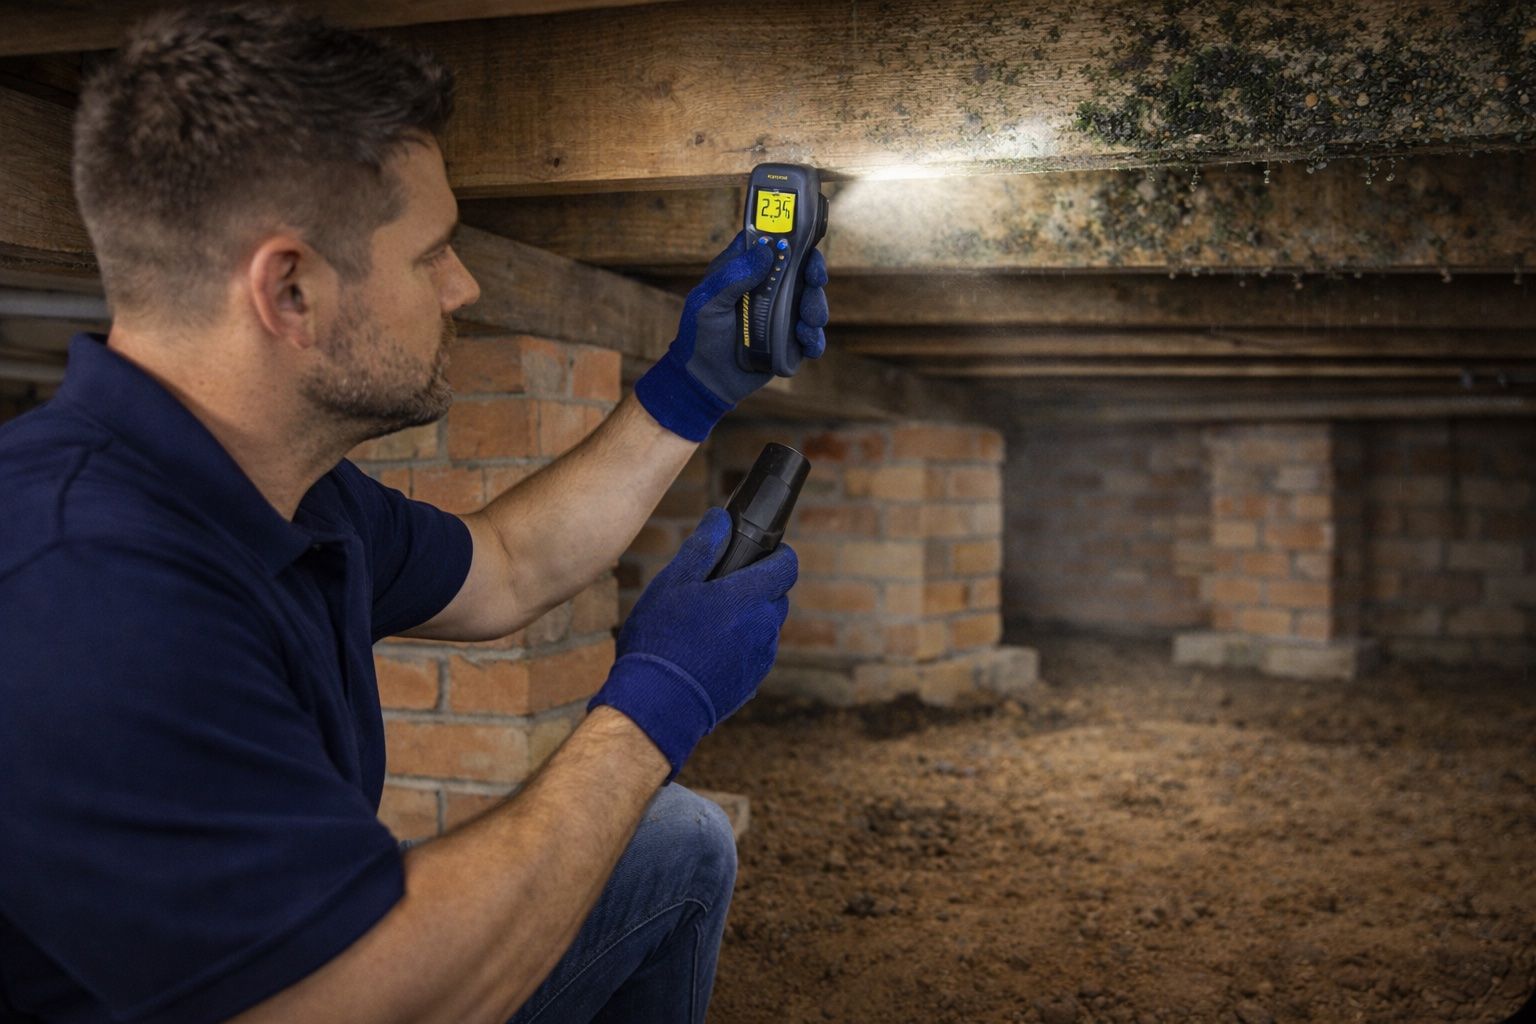
One of the main tools used in this kind of inspection is a moisture meter. It helps check whether timber or nearby materials are holding too much moisture. This matters because some dampness is easy to feel or smell, but harder to measure clearly without the right tool. Some moisture meters use pins, while others scan the surface without pins, and both can be useful when used the right way.
A good inspection may also use torches, probes, cameras, access tools, and safety gear. These tools help the inspector see deeper into the subfloor, check hard-to-reach areas, and record what is found clearly. In many cases, the findings from this stage help show whether a home may later need Subfloor Ventilation Installation to improve airflow and help the area dry out properly. But tools only help when they are used properly. A tool on its own does not solve anything. A moisture meter reading still has to be understood in context.
Conclusion: Fix the Cause, Not Just the Surface Problem
If your home smells damp, feels stale, or keeps showing signs of moisture, the real problem may not be in the room itself. It may be under the house. That is why subfloor moisture should not be ignored. Treating the signs may help for a short time, but if the hidden dampness is still there, the cycle can keep going. The better approach is to find the real cause first, then fix the problem properly. A professional inspection can give you that clarity. If you think moisture may be building up under your home, contact Rapid Vent Systems to arrange an inspection and get clear advice on the right next steps.